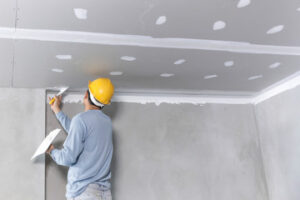
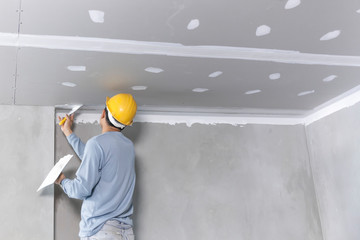
 When you are applying joint compound for drywall repair, you need to be sure to use the correct tools. You need to know how to handle the knife and how to use the tape. You can learn by practicing to become more familiar with the techniques. First, you need to clean the wall thoroughly. Make sure that it is dry before starting the application process. Normally, the tape is applied on the first day, and the joint compound is used on the third day. Cold temperatures and high humidity can delay the drying process. Next, you need to apply a light coating of the joint compound to the top side of the tape. This is to make sure that the tape will stick well. Do this with a lint-free cloth.
Installing a new piece of drywall. If you have an odd hole in your drywall, install a new piece to fix it. This can save you money and time. First, you should identify the location of the hole. A flashlight can help you spot any irregularities in the drywall. You will also want to locate the studs. Generally, these are spaced on a 16-inch center. After locating the studs, use a stud finder to mark the studs on either side of the hole. Once you have marked them, you should cut the drywall to fit the shape. Next, you should attach a wood backing to the drywall. This is to provide a screwing surface and to smooth the drywall out. The wood should be long enough to slide across your working space.
Fixing a hole in the wall. You have a few options if you have a hole in your wall. Either you can patch it yourself or call a professional. The key is identifying the damage and locating the right tools and materials. Small holes can be repaired using a putty knife, a sanding block, and a joint compound. Larger holes will require more specialized tools and materials. Consider hiring a pro to do it for you, especially if the hole is too big.
If you are a do-it-yourselfer, the process is relatively straightforward. Before you start, wear protective goggles and a dust mask. Also, look closely for pipes, wiring, and other utilities. This will help you avoid unnecessary risks when cutting the drywall. Depending on the size of your home, you may need to replace the entire sheet of drywall.
Cleaning up joint compound dust. When repairing drywall, a lot of dust is created during the process. This dust can clog your vacuum and get on your clothing and furniture in small amounts. However, there are ways to eliminate the dust without kicking up more. Having the right tools is a must. Make sure you have a wide nozzle and brush to clean the drywall from top to bottom. Wear a mask to prevent inhaling the dust.
You may also want to have a plastic sheet on hand. This is to catch the drywall dust and then dispose of it in a garbage bag. It is a good idea to have window exhaust fans available for additional ventilation. If you plan on using a shop vac, make sure it has a HEPA filter. Alternatively, you can borrow one.
Cost of drywall repairs. The cost of drywall repairs can vary depending on the size of the repair, the type of repair, and the location of the repair. Some of the costs include materials and labor. If you’re looking to replace drywall, the national average costs can range from $200 to 550 per linear foot. For smaller holes, it can be cheaper to repair the holes yourself. However, you’ll need to call a professional when a hole is larger. These professionals will charge between $200 and $400 per hole. When hiring a contractor, you should also ask about the company’s license and insurance. Also, get a written warranty. It’s better to get a detailed estimate before a project starts so you don’t end up with a bill you can’t afford.

